
Dynatrace Blog
Modern cloud done right. Innovate faster and compete more effectively in the digital age.

Dynatrace news
Automate your work with unified observability and custom solutions

How observability, application security, and AI enhance DevOps and platform engineering maturity

Experiencing Perform: The diary of a Developer Advocate
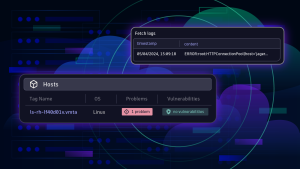
Enable full observability for Linux on IBM Z mainframe now with logs

Shift right in software development: Adapting observability for a seamless development experience